


Kitchen Backsplash Tiling
Adding a new backsplash or updating the existing kitchen backsplash is a fast way to update the most used room in your home. We’ve put together a step-by-step guide to installing a kitchen tile backsplash. Additionally, watch our video demonstating the installation of a glass subway tile backsplash project we completed in New Jersey.
How to Install a Tile Backsplash
Steps for Installing a Tile Backsplash
1. Gather Measurements and Materials
Measure the area between your countertop and upper cabinetry. Once you’ve calculated the square footage, be sure to purchase enough tile to cover the area plus an additional 10%. In addition to the tiles you will need to have spacers, grout, grout sealer, mastic and caulk. Grout comes in many different colors and can be used as a design element along with your tile.
You will also need to have a level, a snap cutter or wet saw depending on the tile you’ve selected, a notched trowel, and a rubber float.
2. Prepare the walls for tile installation
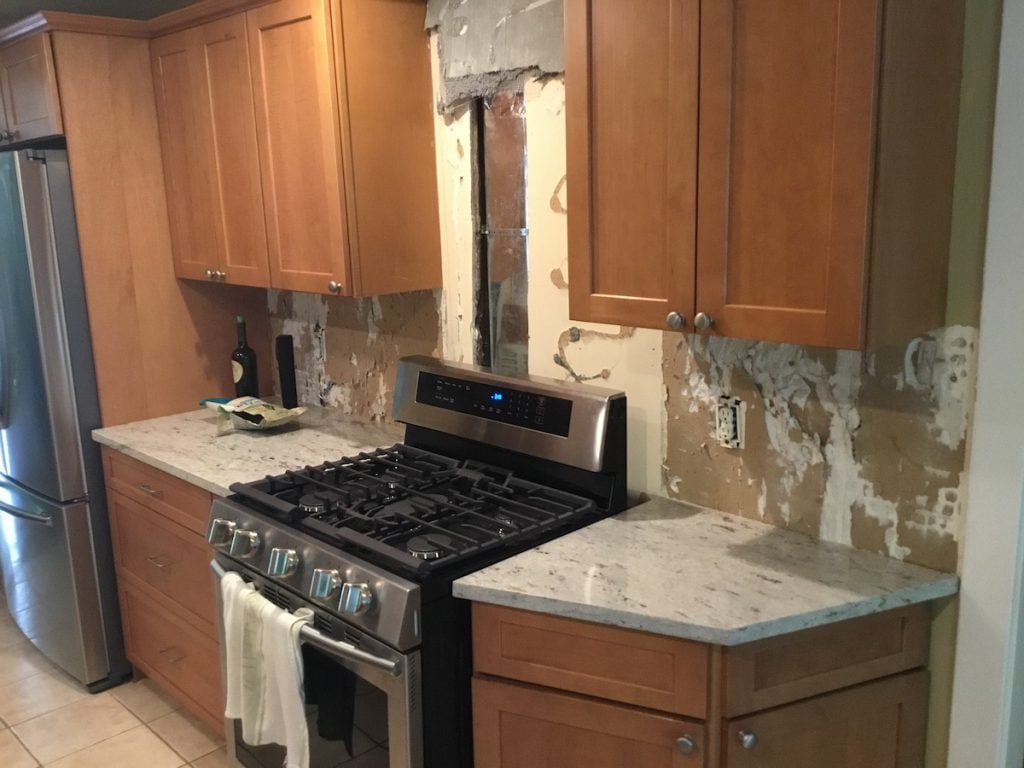
If you are replacing an old backsplash you will need to first remove all the existing tiles. Depending on the adhesive used, the walls underneath may need to be replaced. If you are adding a tile backsplash for the first time, the process is much simpler. Simply rough up any painted surfaces with a coarse-grit sandpaper or sanding sponge. In our video, the installer scores the wall over the stove area for even better mastic adhesion. This is because the tile here won’t have the support of the counter once it’s in place. Wipe everything clean with a damp cloth.
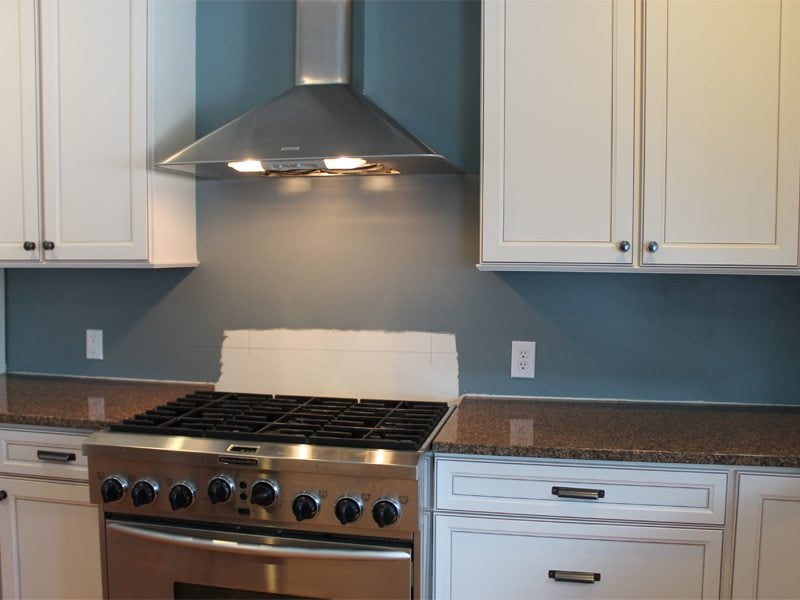
Below: The walls were damaged after we removed the existing backsplash. We replaced the drywall before installing the new tile.
3. Layout your tile pattern
Plan exactly how your tiles will be placed before making any cuts or applying any mastic. Layout your pattern on the floor so there aren’t any surprises when you start installing the tile. Begin by marking the center point of each wall section that will be tiled. Line up a tile with the mark, then place tiles outward in the desired pattern. Be sure to include spacers. Then you’ll be able to determine the width of the end pieces.
Check that your countertop is level. Most likely it won’t be. Depending on the pattern, you can most likely “hide” any uneveness just below the cabinetry. If not, you can plan your pattern around the different levels in advance.
4. Install Your Border Tiles
If you are creating a vertical border, install those pieces first. These tiles will likely be bull-nosed versions of your standard tile, or specific edge tile pieces. Be sure to build up on top of a spacer so you have room to caulk between the countertop and first row of tile.
In our video, we used a wet saw to cut the glass tiles. Then we smoothed the edges with a sanding stone. For ceramic or porcelain tile, a manual snap cutter can be utilized.
To set the tile, apply the pre-mixed mastic to a section of the wall. If you are using the powder, you’ll first need to mix it with water until it is the consistency you see in the video. For the vertical border, you may prefer to apply the mastic directly to the back of the tile.
5. Install the Remaining Tile
Apply the mastic to the wall with a notched trowel. First, use the flat side of the trowel to spread the mastic onto the wall. Then, using the notched side, rake the mastic to create ridges in the adhesive. Only spread small sections at a time.
Now, beginning at the bottom with the center mark, press the tiles gently into place. Spacers should be used underneath and between each tile. Continue to work upward, completing an entire row at a time.
After two rows of tile have been installed, measure and cut corner tiles to size. Place the cut edges facing into the corners. When you reach the top row, cut the tiles to fit up to and around the cabinets.
6. Apply the Grout
Allow the mastic to dry for about 24 hours. Then, wipe down your tile and remove all the spacers. If you installed a natural stone backsplash, you may need to first apply a sealer. Otherwise, applying the grout is the next step. For the glass tile installed in the video, we used unsanded grout. Most likely, that is what you will use as well.
Mix your grout with water using a drill attachment on low speed. Mix in small batches to prevent the grout from drying out. Apply the grout liberally at a 45 degree angle using your rubber float. See the video for tecnique on how to apply.
After allowing the grout to set for 10 minutes, wipe off the excess using a clean, damp sponge. Once the grout has dried completely, clean off the face of the tiles with water or cleaner. A grout sealant can then be applied in a few days.
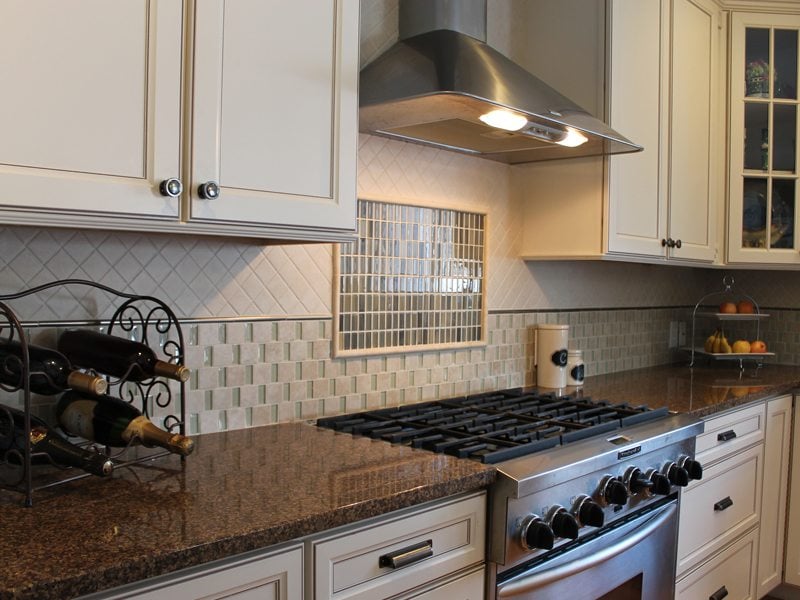
Once the outlet covers have been re-installed, the job is complete!
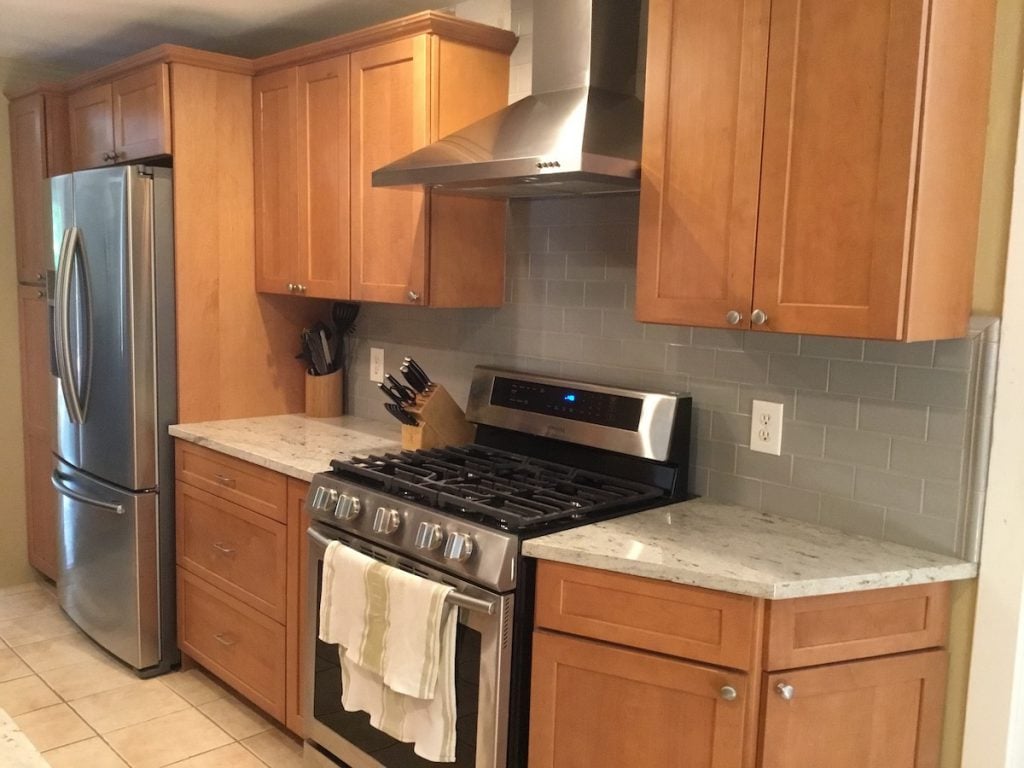
Other Kitchen Backsplash Projects
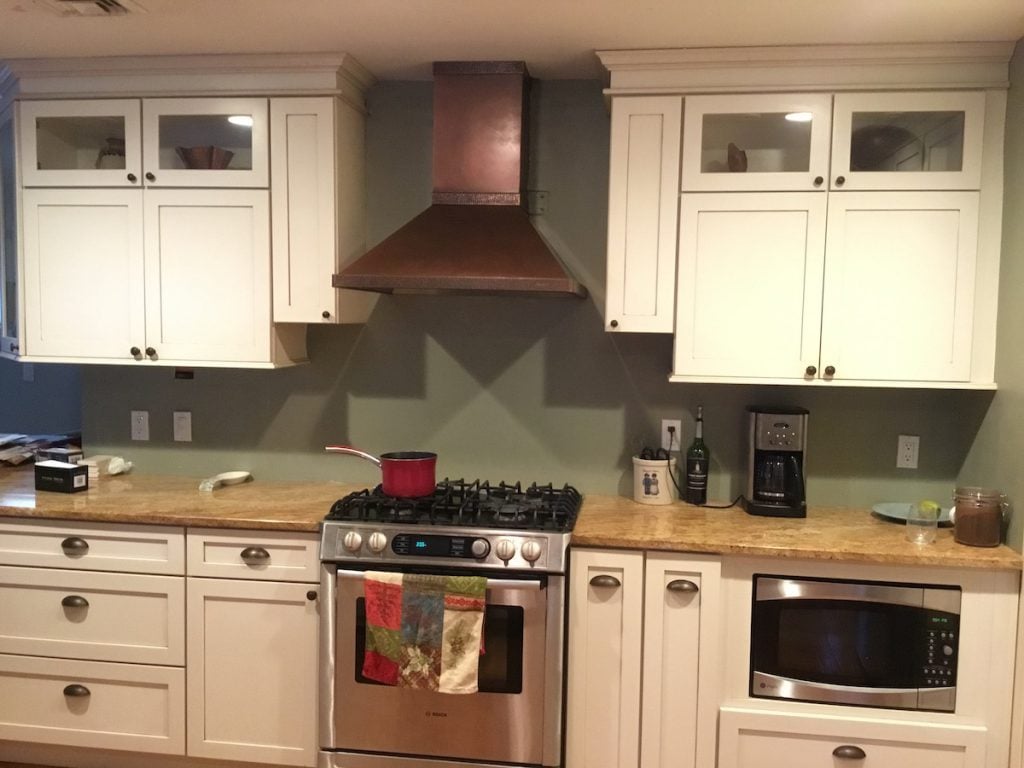
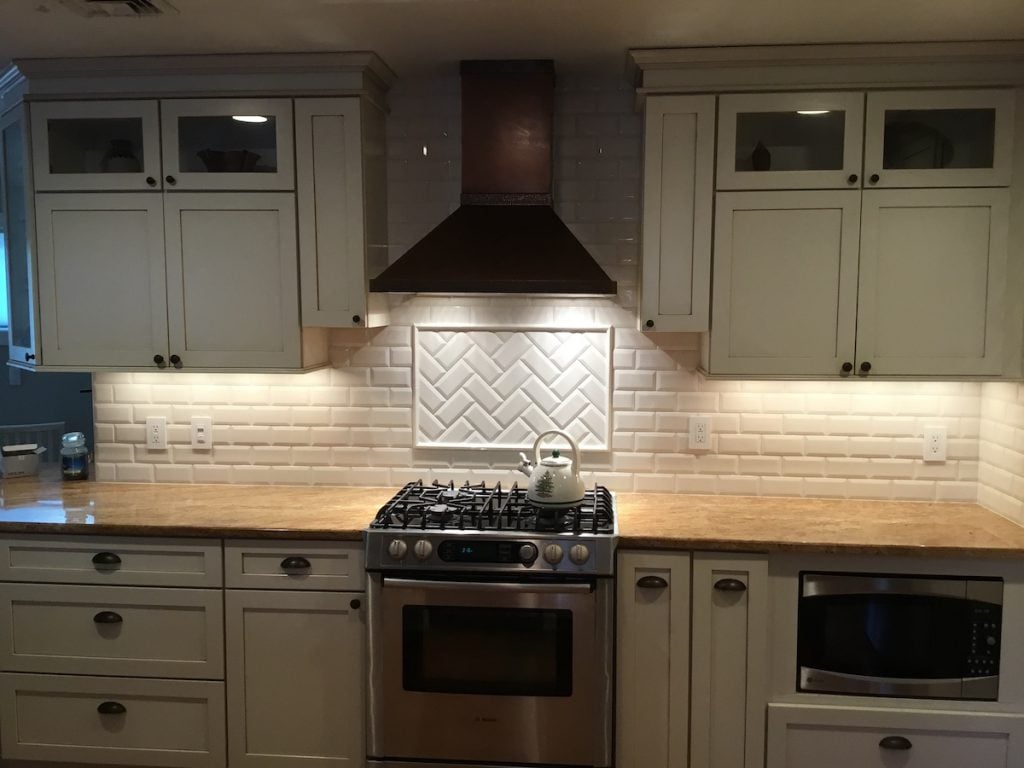
Tile Installation by Monk’s
Read more about Monk’s and our tile installation process. Did you know that we have showrooms full of tile for any kitchen, bathroom, or flooring project? Plus, our design teams will help you select tile combinations and create beautiful patterns. To see more of our tile design and installation work, visit our tile gallery or bathroom gallery.