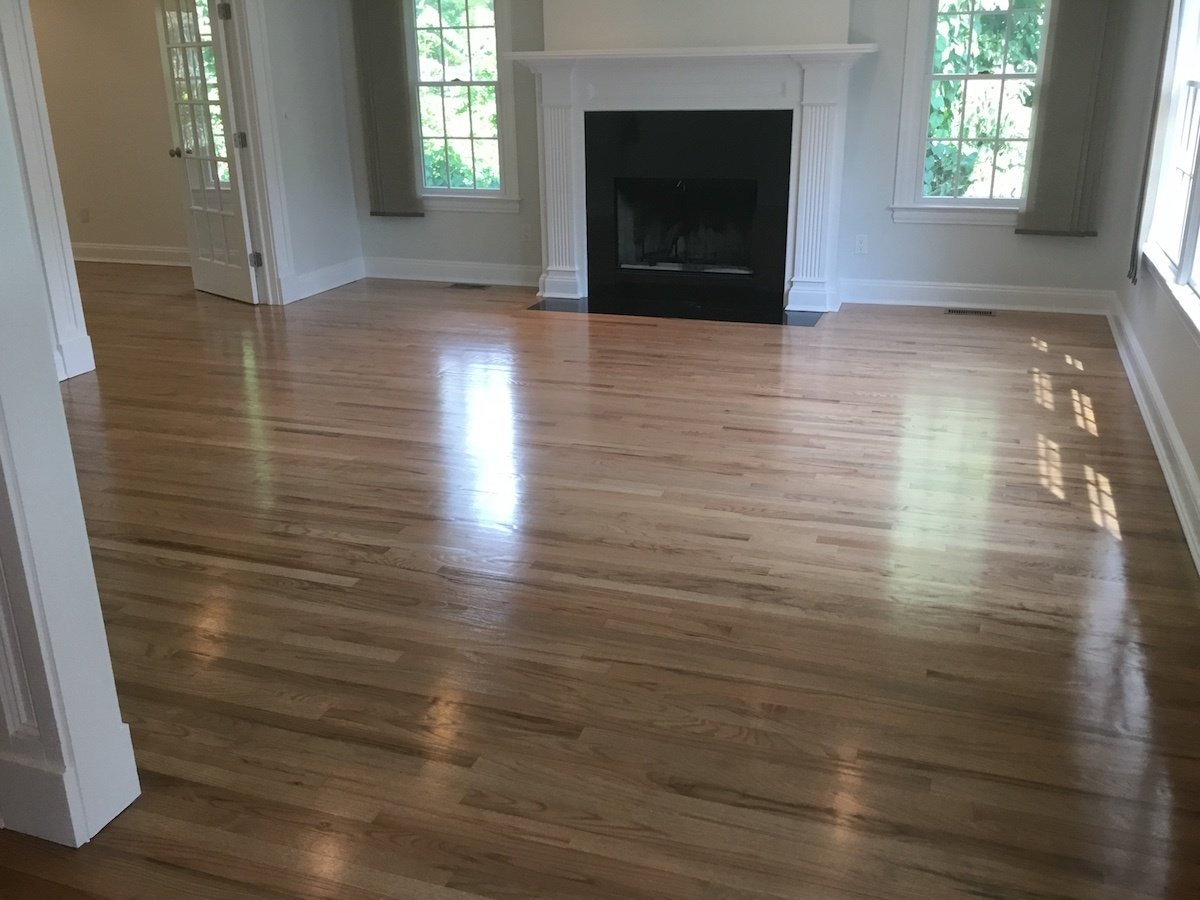
When to Refinish Your Hardwood Floors
Having hardwood flooring in your home is a real value-add. It’s the most desirable flooring options for homebuyers because of it’s timeless style and health benefits over carpet. However, hardwood floors do require some maintenance in order to keep them looking their best. Besides sweeping and cleaning with a damp cloth, hardwood floors also require refinishing. Fortunately, this isn’t required often. Hardwood floor refinishing is necessary when:
- Water or pet accidents have discolored sections of the hardwood
- The poly seal and stain have worn off revealing grey spots. This is typical in high traffic areas.
- Sun damage has discolored the hardwood. This is most obvious if you need to move an area rug or a piece of furniture. The hardwood underneath will be noticeably darker.
- Scratches have penetrated into the wood
- You are removing wall-to-wall carpet
- You want to change the color of your hardwood floors
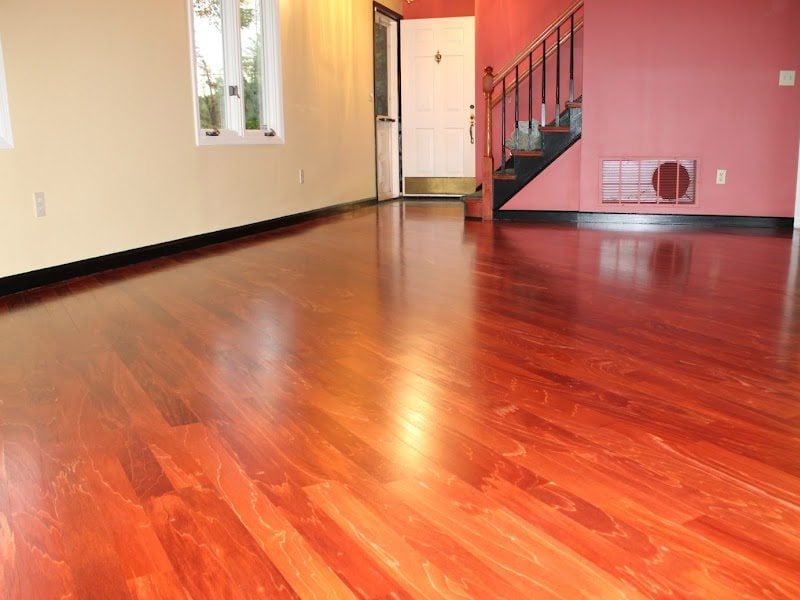
What’s the Difference: Dustless Sanding vs Sandless Refinishing
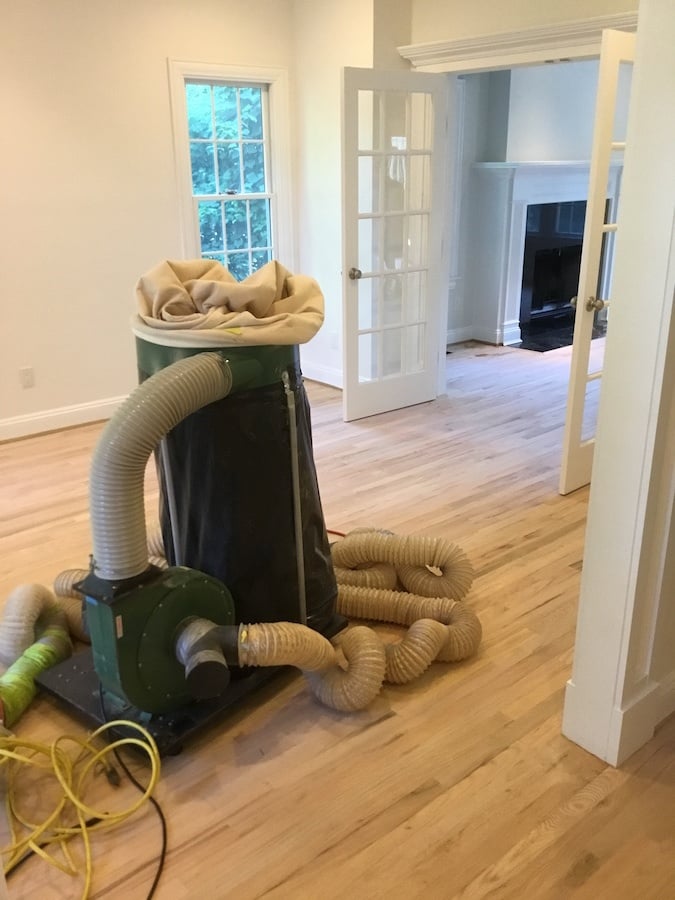
Most professional hardwood refinishers offer dustless sanding as part of the refinishing process. Dustless sanding uses vacuums that vent outdoors, along with high quality HEPA filters. Working together, the vacuum removes most dust to the outside receptacle, while the filter traps any fine sawdust from escaping. Technically, it isn’t “dustless”, but it does greatly reduce the amount of sawdust that gets in the air.
Dustless sanding removes the existing poly, stain, and first layer of wood. This process takes hardwood floors down to their “raw” state. Dustless sanding will remove any scratches and stains from the top layer of hardwood. Once it has been sanded, it is ready to be stained any color and resealed. Unless hardwood floors have been damaged beyond the top layer of wood, your hardwood floors will look like new after this process.
Sandless Refinishing
“Sandless refinishing” is a less involved process. However, the name is a little misleading since light sanding is involved. You may also hear this process referred to as screening or buffing. Essentially, it involves etching the existing polyeurethane, and recoating the floors with a couple coats of poly. Typically, a floor buffer with a pad and 150-grit screen is used to do the etching. Screening is done to remove or rough up the polyurethane in order for new coats of polyurethane to adhere properly. Sandless refinishing will not correct any of the problems highlighted above. Rescreening is done to protect hardwood floors. Regular rescreening will prolong the time required before the next full refinishing, or prevent you from having to fully sand your hardwood floors at all.
DIY vs Professional Hardwood Floor Refinishing
If you are handy, then you can certainly refinish your hardwood floors as part of a staycation or long weekend DIY project. If you are under a tight deadline, having the professionals handle it is probably the way to go. For example, if you have purchased a home and want all of your floors refinished before moving in, professionals can do this in a week while you are busy packing. However, the required drying time is consistent despite who is completing the work. You’ll need to take into account this considerable timesink when planning this project.
Assume that for DIY-ers, it will take a little longer to complete the same work compared to the pros. This is important because depending on the project, you may need to leave your home. You may also need to store furniture. Hotels and storage pods are added costs that increase with time. You should factor these costs into any DIY vs. professional cost comparison.
DIY Tips:
- Plan and prepare. Move furniture, decor, wall hangings and window treatments out of any room where you’ll be sanding. Do this in the days leading up “sanding day”.
- Figure out your path around the room where you’ll be working. If your work area will be blocking off important rooms of your home, get everything you’ll need out of them before you apply any sealer. You won’t be able to access those areas for 24 hours.
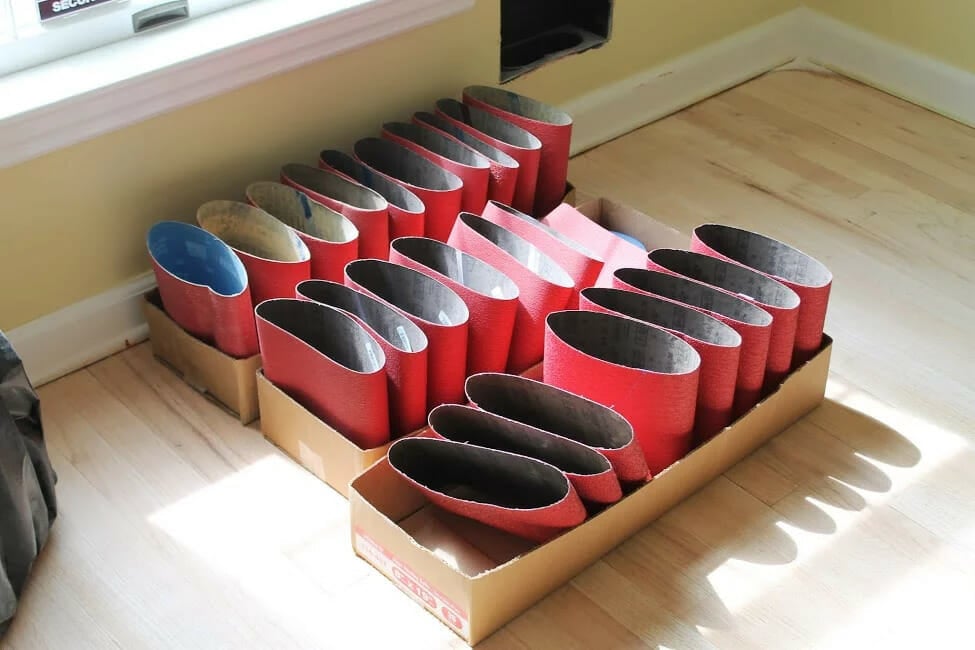
- Because of the amount of work required, and the drying time required, you’ll want to be ready to get started early in the day. Since you’ll be renting sanders which will be charged by the day, plan to get to the store early to make sure you get what you need, and can use it all day.
- Tape off the room(s) with plastic tarps where you’ll be sanding to minimize the amount of dust that escapes.
- Keep the heat or air conditioning on during the staining and sealing process. This will help everything dry quicker.
Benefits of Professional Refinishing
Better Equipment
Professionals have the equipment, experience, and team members to get projects done as quickly as possible. Of course, the people who do this all day, every day, will be able to complete these projects more efficiently than first-timers.
Sanders used by the pros will most likely be an upgrade of anything you’ll be able to rent. This means that the pro’s equipment will reduce the amount of dust and be able to handle larger areas more quickly.
Do You Need a Water Pop or Conditioner?
If your oak floors are old, they may need to be “water popped” before the stain is applied. Water popping adds moisture to dry wood, which opens up the wood to allow the stain to be absorbed more evenly. In other instances, your wood floors will need to be conditioned before staining. A professional floor refinisher will know exactly what your floors need and how to do it.
Professionals will also test stain colors for you. If you aren’t sure what color you’d like your hardwood floors, the professionals can help. They can guide you based on your home’s trim and other hardwood floors in your home. Or, they can apply a few different stains on your floors and you can choose your color. Of course, you can do this for yourself, too, but be prepared to resand the test area.
Professional hardwood refinishers will get it done right the first time. This is important for two reasons. The first reason is that hardwood floors can’t be sanded indefinitely. There needs to be enough wood above the tongue (at least 1/8″ of an inch) to be fully sanded. Once the floors are too thin to be sanded, they will need to be replaced. Secondly, if you need to sand your floors to correct a mistake than you are starting from scratch (pun intended). This means more time and more money.
Tackle Multiple Projects at Once
Lastly, if you hire a home improvement company with multiple specialist crews, you can tackle multiple projects at once. At Monk’s, we have flooring specialists as well as painters and carpenters. We can schedule these tradesmen back-to-back so you can have refinished floors, new wainscoting installed, and a fresh paint color all done while your room is cleared. Doing projects this way will save you time and money.
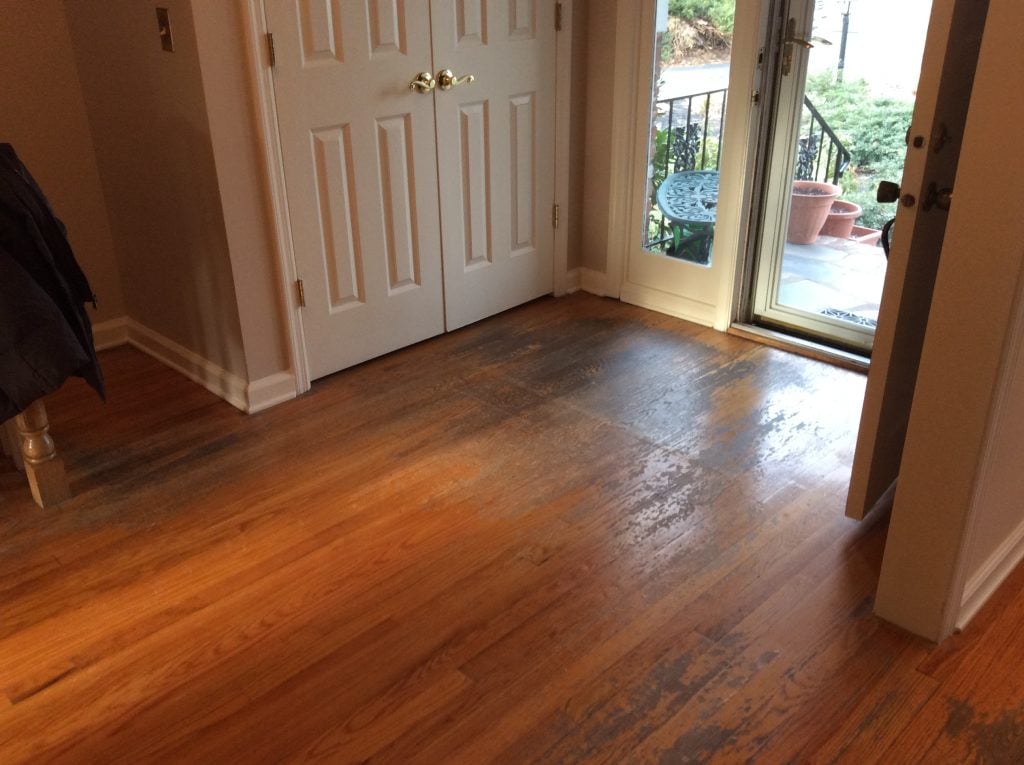
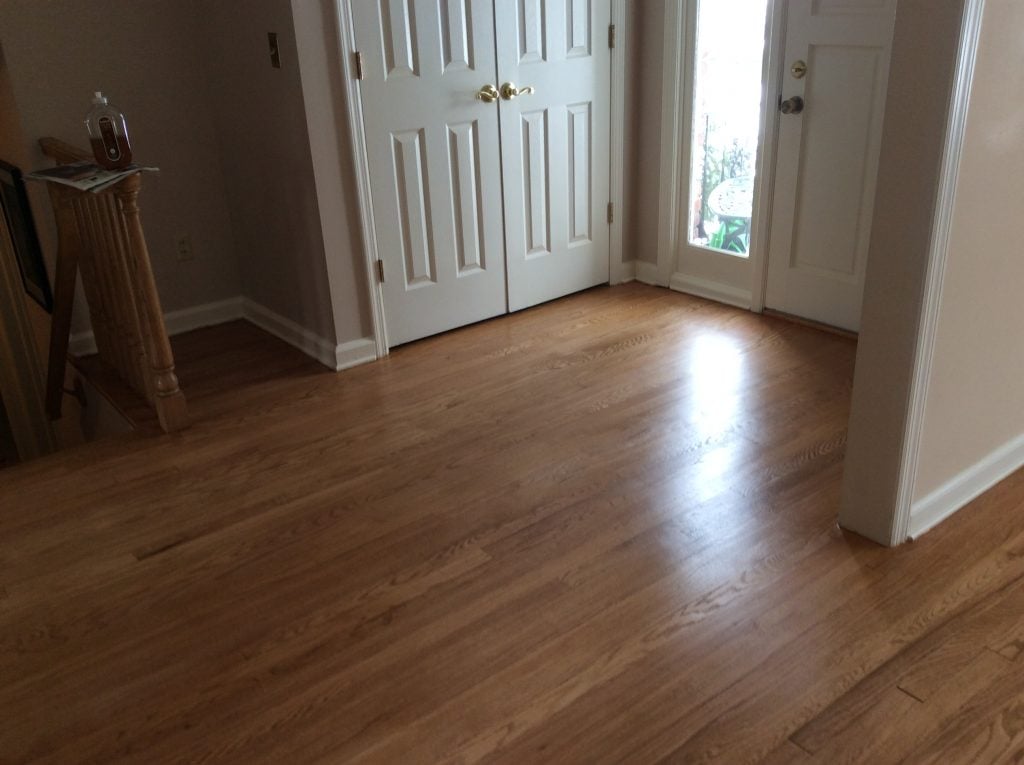
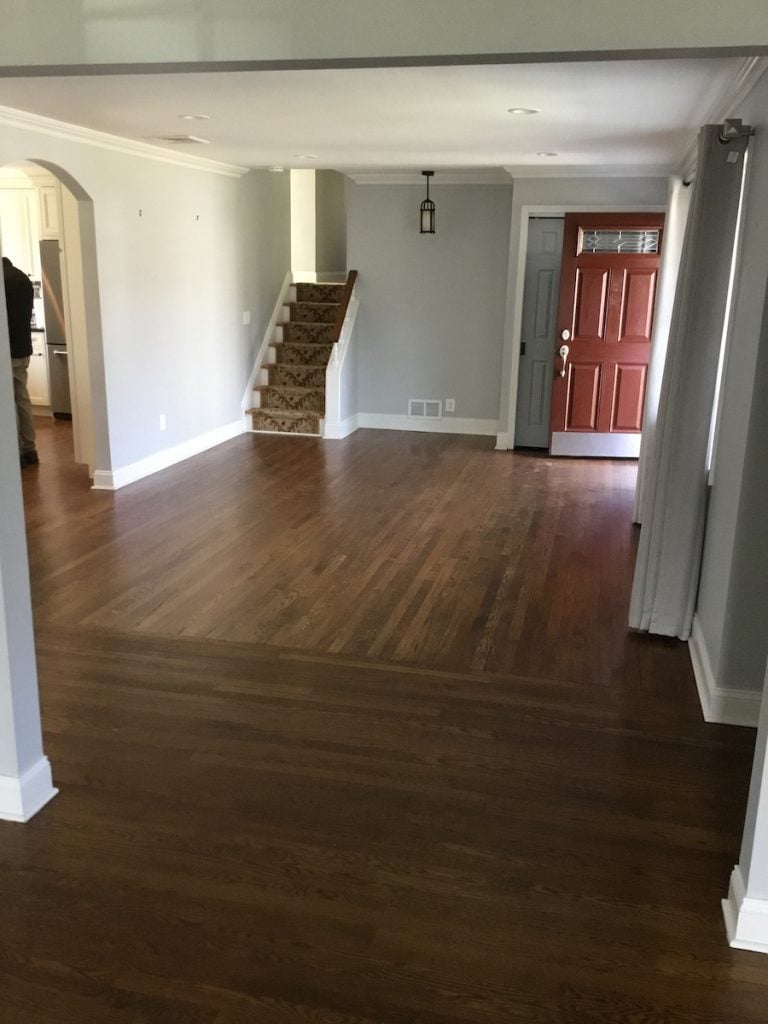
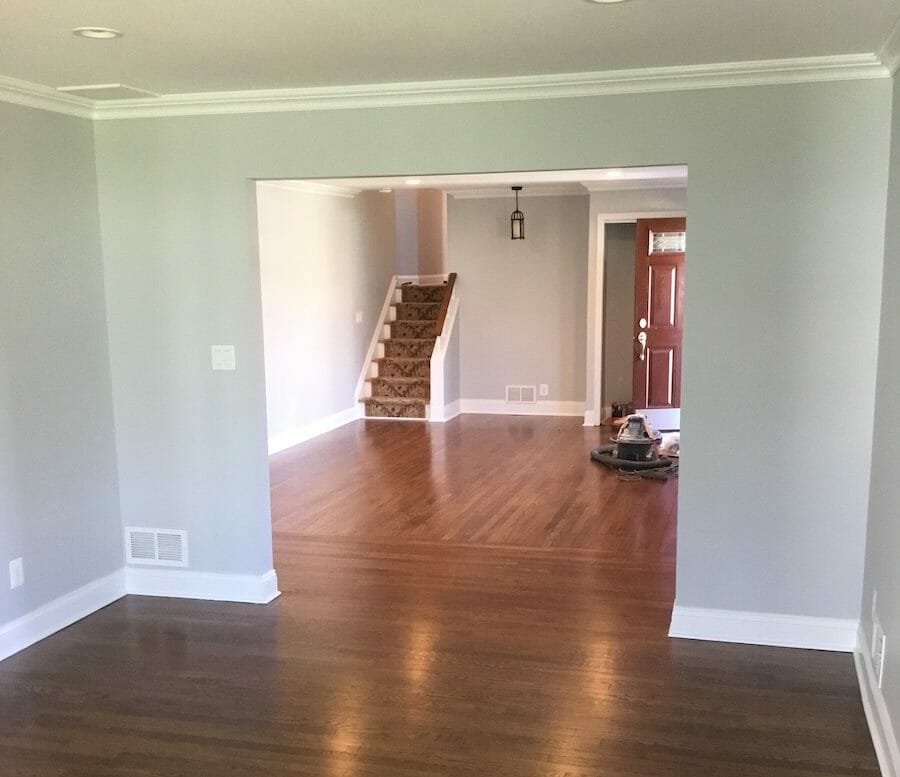
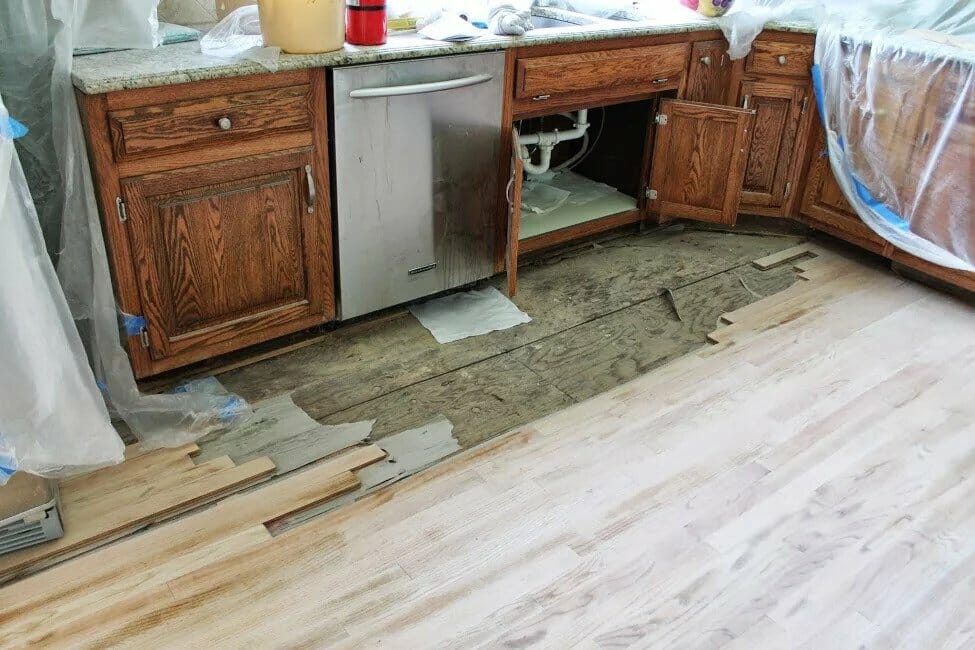
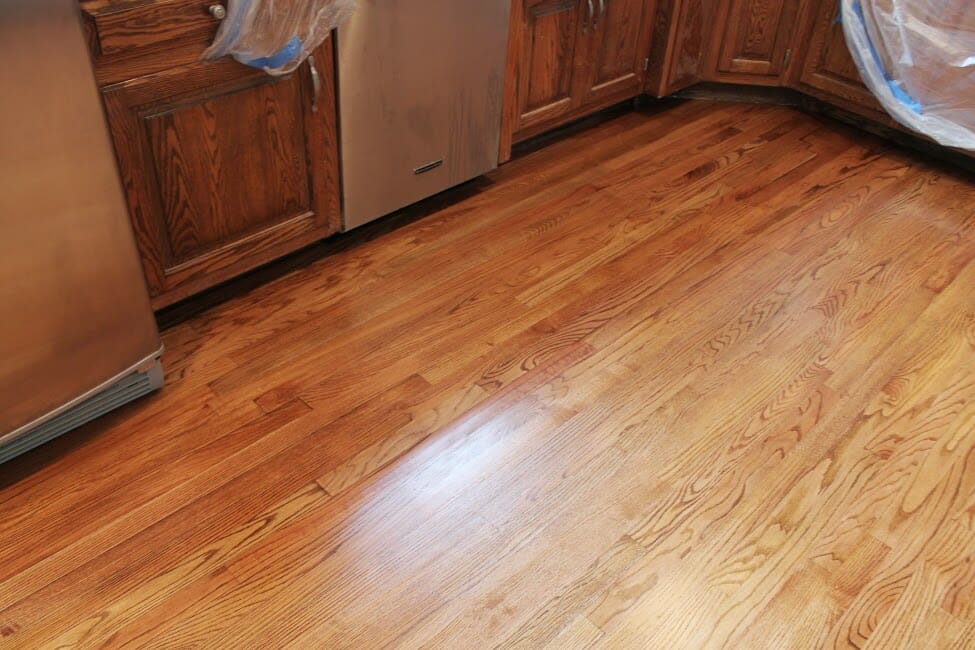
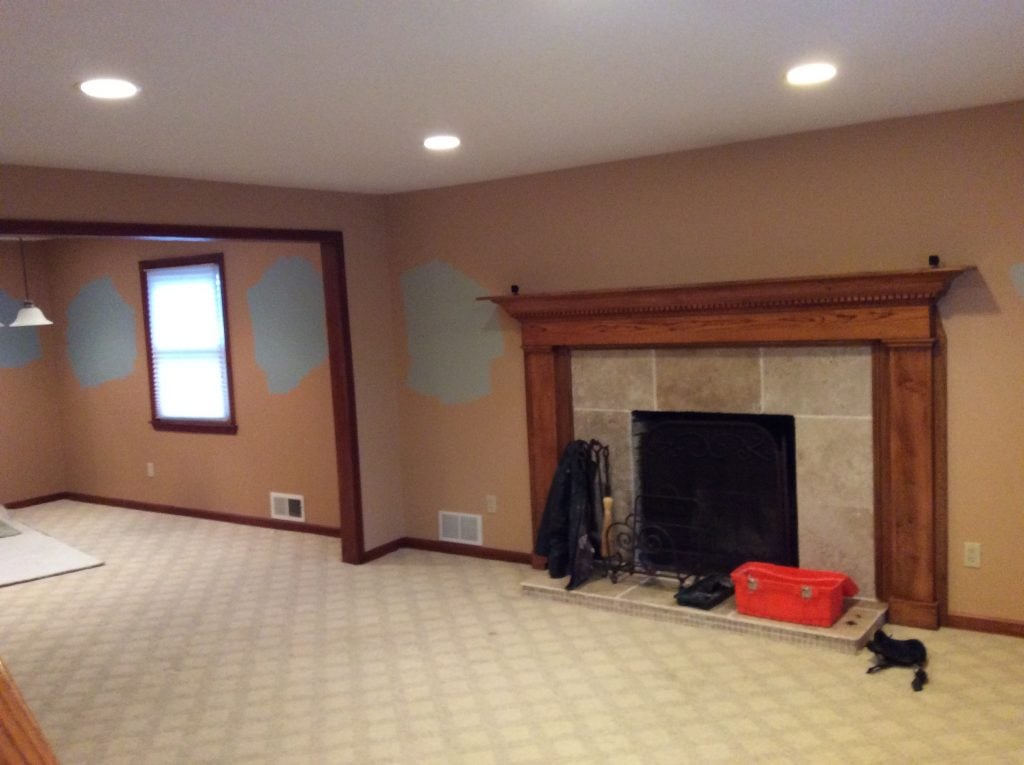
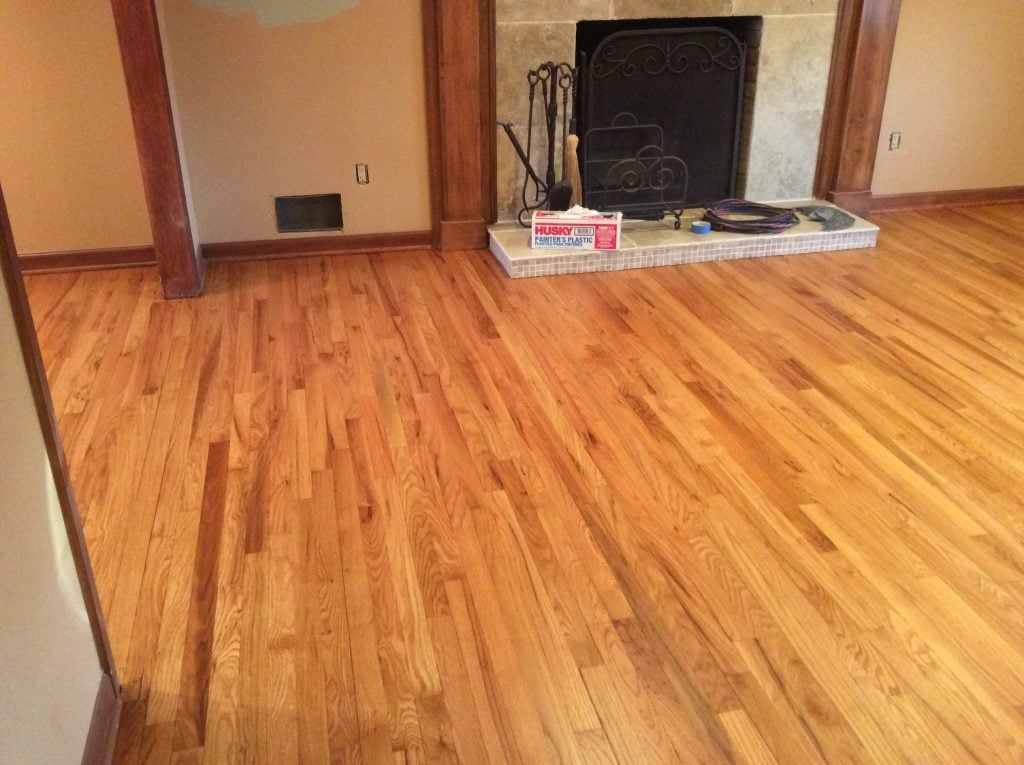
Refinished Hardwood Floors: Before and After Photos
Here are a few examples of floor refinishing projects we provided for our customers. Visit our Flooring Gallery for more before and after photos.
Cost for DIY Floor Refinishing vs. Cost for Professional Hardwood Floor Refinishing
Do-it-yourselfers should expect to pay for the following:
- Floor sander rental – available for approximately $65/day at local home improvement box stores
- Sanding pads and sandpaper of various grits
- Applicators / brushes
- Stain – A quart can cover approximately 275 square feet and will run you about $10 / quart. Unless you are looking for a very deep, dark finish, one coat should suffice.
- Polyurethane finish – For the same 275 square feet, finish will cost between $20 and $36. However, you will need to apply 2-3 coats.
All in, you’d be looking at spending less than $500 for 275 square feet of space.
For a professional to do this same job, expect to pay anywhere between $970 to $1250 for 300 square feet, according to research done by HomeAdvisor.
Other Costs to Consider
These may not be included in a contractor’s estimate, or they may not be offered at all.
- Furniture removal and storage
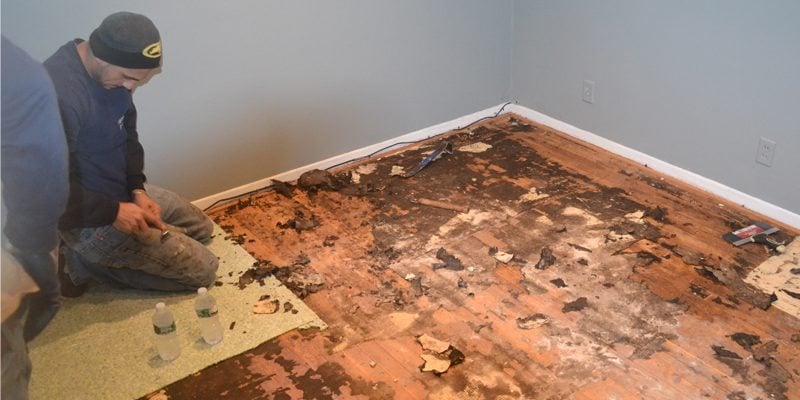
- Carpet removal and disposal. Removing the carpet is the easy part. It’s taking up all those staples that is a time-consuming pain.
- Replacing any worn edging/baseboards/quarter round
- Painting the trim
- Cleaning. Your contractor should tape off all adjoining rooms with plastic sheeting, but dust still has a tendency to creep into adjacent living areas. Expect to vacuum and wipe down every surface, or pay someone to do it for you.

When Can You Move Furniture Back After Floor Refinishing?
After all that effort and money spect to refinish your hardwood floors, the last thing you’ll want to do is ruin them by walking on them too soon, or moving furniture into the room before they are dry. Humidity and air temperature can affect drying times, so please consider the higher the humidity, the longer the dry times. If you are refinishing the floors yourself, please go by the guidelines on the sealer you are using. If you hired a professional, they will be able to give you an accurate timeline based on products used and current weather conditions.
Using Waterborne Poly
Generally, you can walk on the floors between 6 and 24 hours after the last coat of waterborne poly is applied. You should only walk in stocking feet during this time. After 48 hours, you can walk in shoes or bare feet. After two to four days, furniture can be moved back into the room. If it is very humid, you should wait the full four days. Keep dogs off the refinished floors for 1-2 weeks. Area rugs should also be the last to go in. We recommend waiting about two weeks before placing rugs back on the refinished hardwoods.
Using Oil-Based Poly
For oil-based sealer, the timeline is slightly longer, and humidity should be factored. Again, in general, wait a full 24 hours before walking on the floors with socks. Be sure 48 hours have passed before walking on the floors with shoes or bare feet. Wait 4 days before returning furniture to the room. Fido can walk on the floors in 2 weeks. We recommend waiting a full 30 days before placing area rugs on the floor.

