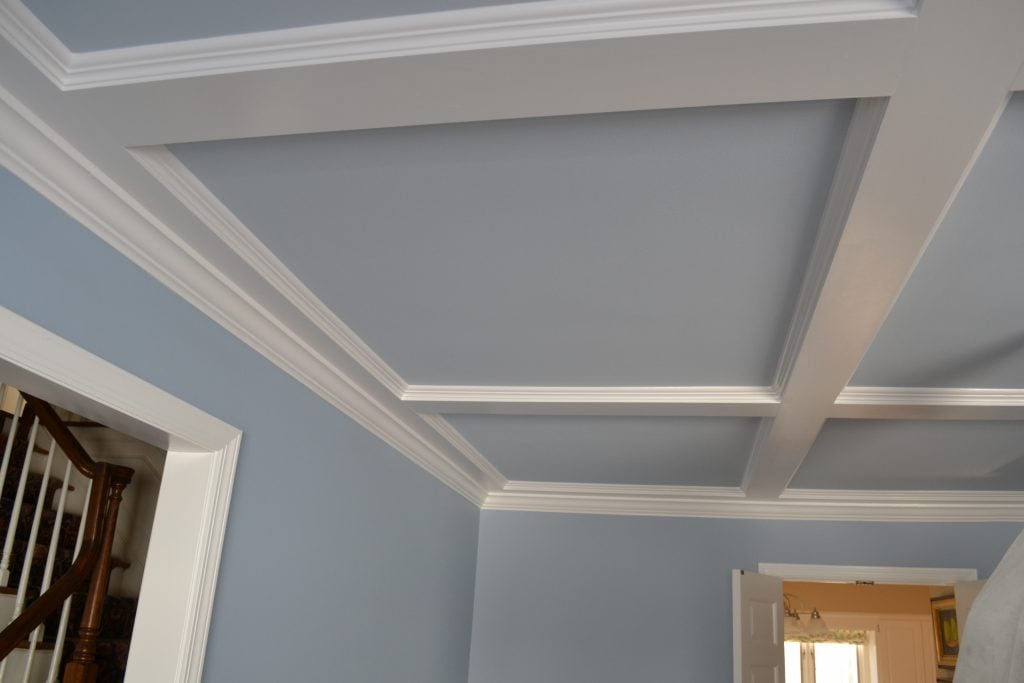
What is a Coffered Ceiling?
A coffered ceiling is a ceiling with a pattern of squares or rectangles that are created by crisscrossing beams. A coffered ceiling can be a simple geometric pattern, or an ornate feature, as the original coffered ceilings were back during the Renaissance. Today, coffered ceilings add formality to a room. They provide architectural interest. Most often they can be found in living and dining rooms, as well as master bedrooms.
Coffered Ceiling Examples
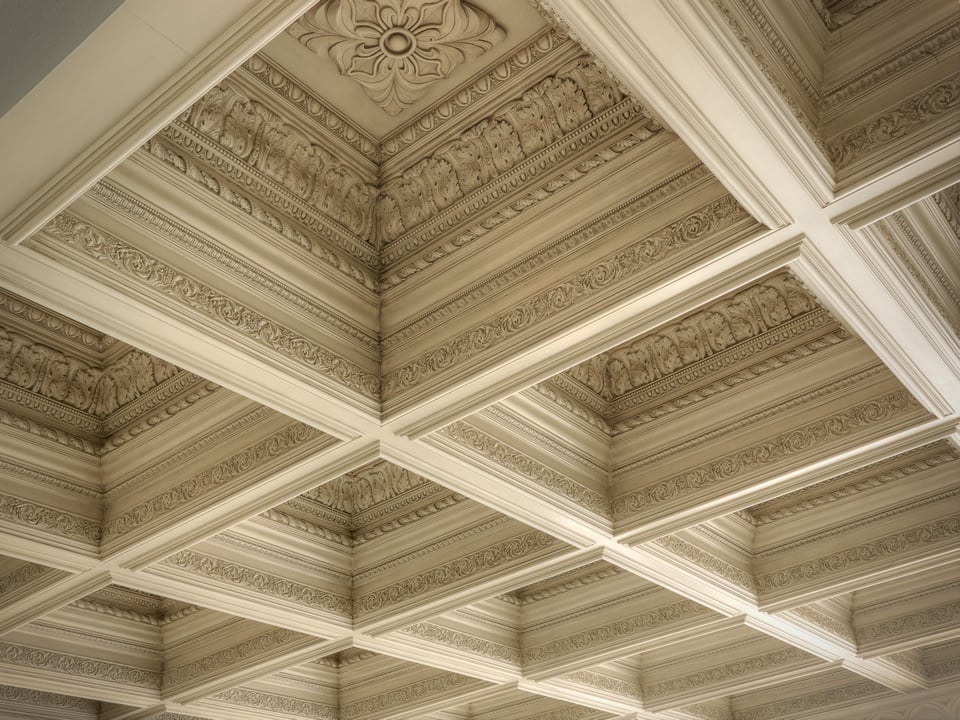
The coffered ceiling examples below show how this architectural feature can be used for all types of building syles. The first photo is an example of an ornate coffered ceiling that can be seen in museums, churches and other historic buildings.
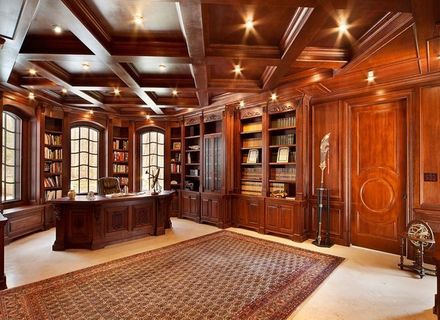
The rest of the images detail more modern applications. Very shallow coffers were installed in this home’s living room. A shallow coffered ceiling is a good choice for rooms with a lower ceiling height. Then, this mahogany study is a very traditional room with monochromatic coffers. While the material and color is uniform throughout, the geometric pattern adds visual interest. The final photo is an example of a coffered ceiling in a home with a modern farmhouse style. The beams are painted a crisp white to match the rest of the home’s trim. They are built on top of a more rustic, natural wood ceiling. The mixed material and color are unique and really add lots of character to this open space.

Difference Between Tray Ceilings and Coffered Ceilings
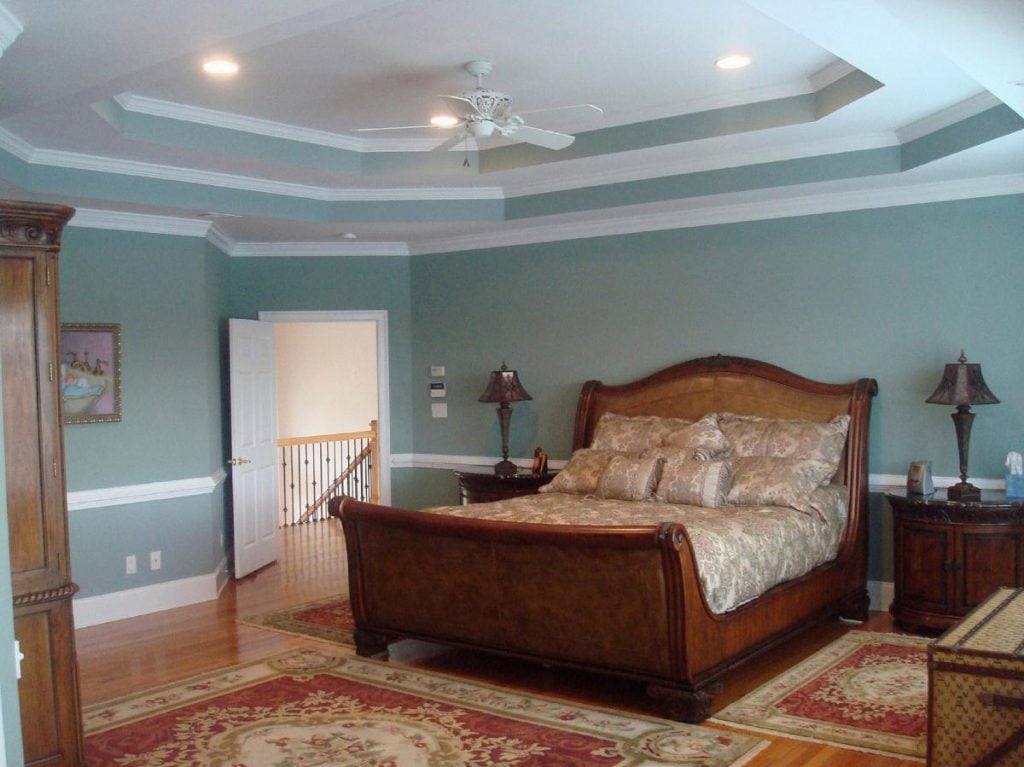
Tray ceilings are also popular features in today’s homes. They are most often found in large master suites, but can also be part of living or dining rooms. Like coffered ceilings, tray ceilings add formality as well as interest in large rooms.
Unlike a coffered ceiling, a tray ceiling features a perimeter that is several inches or sometimes feet lower than the center section of the ceiling. Tray ceilings are sometimes referred to as recessed ceilings or inverted ceilings.
How to Build or Install a Coffered Ceiling
- Paint the ceiling if needed, or if you want a different color for the inside of the coffers. Painting should be done before any carpentry work begins.
- Carefully measure the ceiling. It is important to have exact measurements of the length and width. Be sure to take measurements from different points as the length or width may vary slightly at different points in the room.
- Decide on the look of your coffers. How wide do you want the beams? Do you want them to be tapered? What about the depth? Draw the design on paper based on your ceiling dimensions.
- Layout the design on the ceiling using chalk lines to detail the position of the beams.
- Install the main base beams to the ceiling. These are the beams that run perpendicular to the direction of the ceiling joists.
- Now, install the base crossbeams. Attach these to the inner edges of the main base beams. This will complete the grid pattern of the coffers.
- Next, complete the coffer design by installing the remining pieces on the base beams.
- If there is any additional trim or ornamentation planned for inside the coffer, now is the time to install it.
- Lastly, paint the beams. If you paint the beams prior to installation, you will have to cover up the nail holes afterwards.
Why Use Professional Carpenters for Your Custom Ceiling Project
As you can see, coffered ceilings take a bit of planning and work to make sure they look great. You not only need to be handy, but also have the right tools to be able to take on a coffered ceiling as a DIY project. You will need to have a table saw since you’ll be making a LOT of cuts. A router and jig may also be required. You will also need a nail gun. If you’re not experienced using these tools, we strongly suggest hiring a carpenter.
Hiring a professional carpenter will ensure that your project gets done correctly the first time. A carpenter will complete the job quickly. Best of all, you’ll come home to a finished coffered ceiling and be able to enjoy your weekend.
Monk’s Installed Trim on the Walls and Ceiling
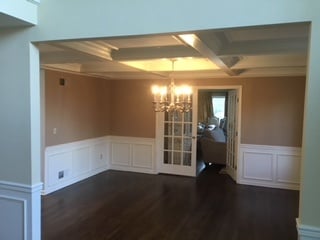
Monk’s professional carpenters took on this trim project in Livingston, NJ. These homeowners loved to entertain, and family gatherings often happened at their home. Since they spent so much time in their dining room, they wanted to create some visual interest here. Monk’s carpenters installed wainscoting and a coffered ceiling in their dining room to add formality and character.
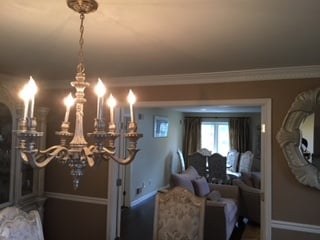
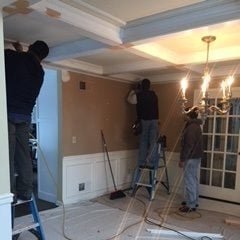
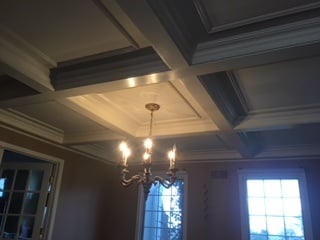
Wainscoting and Coffered Ceiling Installation in Dining Room
The dining room in this home was more decorative than most. It already featured crown molding and chair rail when we arrived. We were able to build from these existing trim pieces in order to complete the new carpentry additions.
The carpenters began by measuring the room and creating a plan for the coffered ceiling and wainscoting panels. The carpenters designed the coffered ceiling so that each coffer is the same size. Similarly, the carpenters measure each wall section for the wainscoting panels. Each wall section is a different size, so the panels need to be created and spaced to look as even as possible throughout the dining room. The carpenter finalized the measurements and design.
Next, the carpenters began cutting the trim pieces. They installed picture frame molding underneath the chair rail. The coffered ceiling was more complicated in order to properly “interlock” the molding sections. A thin border of decorative trim was also installed within each coffer. Afterward, the painters finished the project. They painted all the new molding a crisp white to match the trim throughout the home.
Guests will be surely wowed by the wainscoting and coffered ceiling in this dining room!
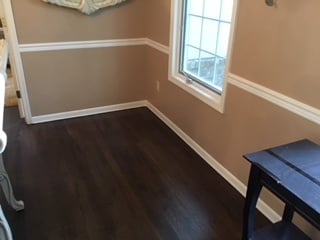

More Custom Ceiling Ideas from Your New Jersey Home Improvement Experts
Browse Monk’s photo gallery of wainscoting and crown molding carpentry projects. Then contact us at 973-333-4719 for your free, no-obligation estimate.

